I made a thing!
A thread for that thing you made that you want to tell us about.
|
I made a thing:
1/2 cup granola, an egg (or a 1/4 cup liquid egg product, use the kind with no seasoning), 1/4 cup milk (or almond milk, or apple juice, or, I suppose, bourbon), cinnamon to taste. Mix together in a microwave safe cereal bowl, pop into the microwave for 1 1/2 minutes. Top with butter and syrup. Yum. I'm calling it Granola Bread Pudding. Today I added a bit of chopped apple, and, instead of my usual fat-free Smart-Squeeze margarine and sugar-free Mrs. Butterworth's, I used fat-free Redi-Whip whipped cream for extra bread puddingness. The other day day I added a 1/2 a mushy banana. So far, I haven't made a bad version. Bacon may only be served as a side. The addition of bacon to the pudding itself would result in mushy bacon. Which would be unfortunate. |
I made a thing, but I flushed it.
:D Actually, I tried my hand at drying hot peppers. I want to get a food dehydrator, but for now I needed to preserve my crop. I just made a mash by grinding them up in a food processor with vinegar and salt. I use them for my hot sauces, which a blazing hot BTW! So now I'll be grinding them up into a powder. I have red habenero, orange habenaro, tepin, arbol, serano, and jalapenio- all of which I let ripen to red. The worst part of the drying process was the toxic air which burns the eyes!! |
My cousin dries them by cutting off the bottom tip and hanging them by the stem over the edge of something. If you have a bunch, you'd have to tie them up or something.
|
Yeah, I thought about doing that. But I'm in too much of a hurry, worried about mold, and couldn't find a good place to hang them that the cats wouldn't get to them.
I'm going to get a food hyrator. |
Quote:
|
OMG! Hyrator? That sounds like Scooby Do! :D
Today I made Ravioli. Cheese and spinach filled with tomato sauce. From scratch. And I mean scratch! I grew the tomatos to make the sauce. I used flour and eggs to make the pasta, put the filling in, and cut them with a round ravioli press. Oh, and I made sourdough bread from scratch and used it to make the garlic bread. About the only thing I didn't do was grow the wheat and mill it myself, and milk the cows to make the cheese. :rolleyes: |
Very nice!
|
Why, thank you! Thankyouverymuch!
|
Quote:
|
I'm writing the MousePlanet newsletter. It comes out once a week on Thursdays and includes summaries of the week's articles as well as other little news bits, eye spies, or whatever I feel like including. You can sign up in the upper right corner of MousePlanet.com.
|
No, laying the egg was the easy part.
Thanks, Steph. I look forward to the newsletter, I'm already signed up. |
Does "I'm working on making a thing" Count?
I'm finally getting around to building a screen wall to hold my movie screen and at long last finish off the MoonCave. I struggled for some time on how to build a screen wall on which to mount an acoustically transparent screen. In the end I went with the "Keep It Simple Stupid" game plan. It's a low room (around 7') so I'm flush mounting the screen border with the ceiling. With the screen centered left-to-right on the wall I will have a space of 16 1/2" on each side between the wall and the edge of the screen. So the plan runs something like this: 1. Cut one 18" strip of speaker cloth for each side. (the screen frame is ~3" wide) 2. Staple gun the cloth to 2x2 board 3. Screw the 2x2's into the ceiling letting the cloth hang down on each side. 4. Screw a 1x6 board into 2x2 so it hangs vertically at the mid point of the room 5. Attach the screen to the 1x6 6. Cut a strip of speaker cloth to cover from the bottom of the screen to the floor. I started building over the weekend, and completed the left side panel. Last night I installed the cross board. Tonight I hope to finish things off, but I doubt I'll get that far. The left section 2x2 painted black 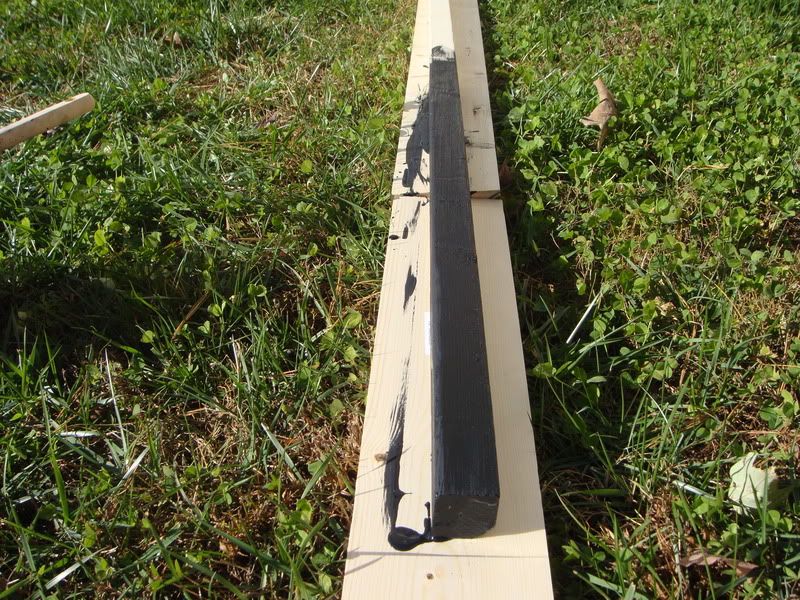 Measuring and cutting the speaker cloth panels. 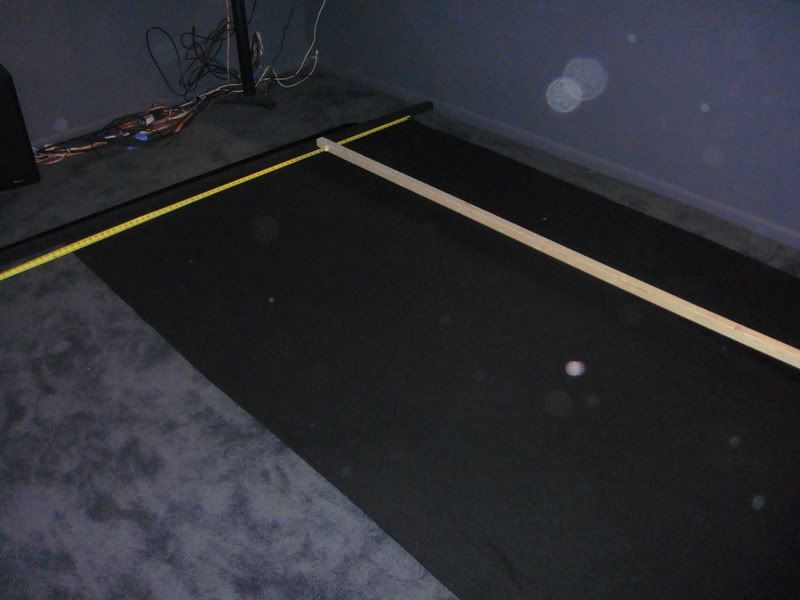 Staple gun the fabric to the 2x2  Screw the assembly to the ceiling 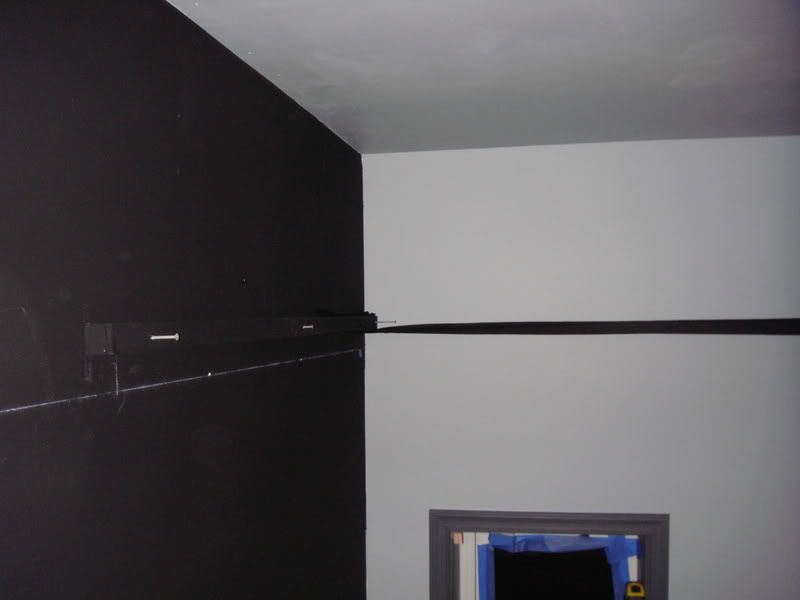 Last night I made a bit more progress. I finished installing the side panels to the ceiling, and mounted the cross board on which the mounting bracket and screen hang. Amazingly it all came out straight and level (after a bit of shimming). The left side panel. In time I will add some weight to the bottom to make it hang straight and tight. 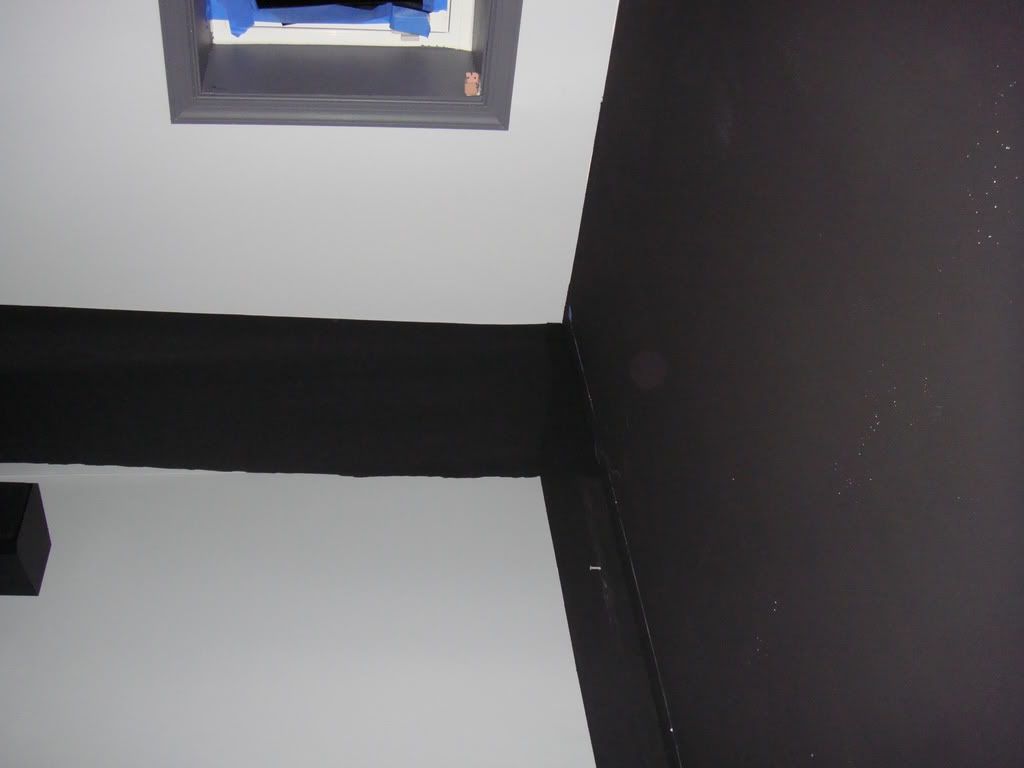 Close-up of the cross board (yes, I still need to paint it black) 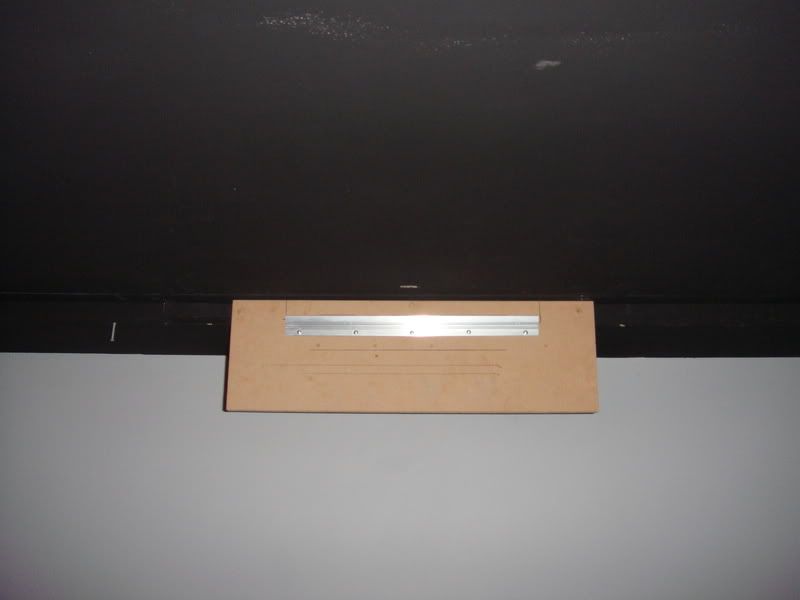 Photo from the back of the room with the top rail of the screen in place. 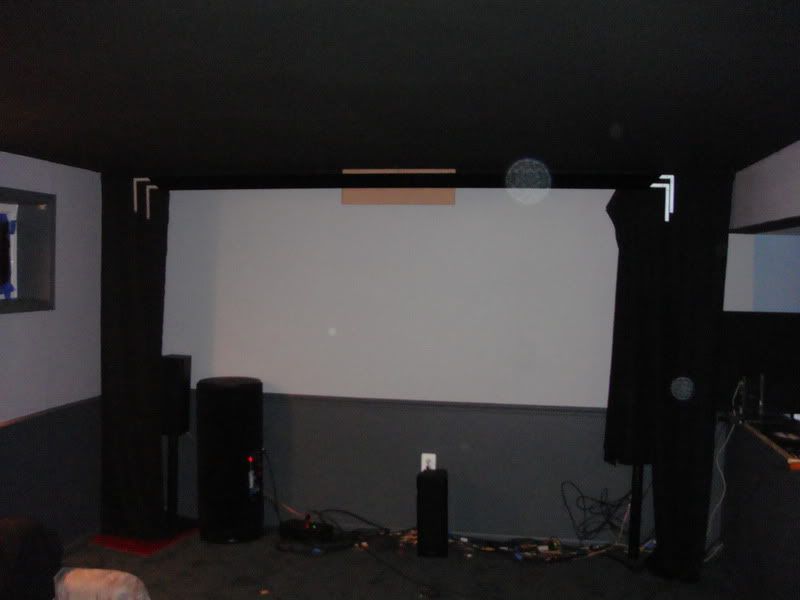 A behind the scene shot of the cross board showing the shims I hammered in to make the cross board hang straight vertically.  |
Nice. I forgot, Moonliner- what speakers did you go with?
|
Quote:
Left/Right/Center - M22's Surrounds (L/R/LR/RR) - QS8's Subwoofer - SVS PC12-Plus |
Excellent choices, man!
|
Quote:
I get a lot of static from people about using "bookshelf" speakers for my mains until they come down to the MoonCave for a demo. Then they want the link to the website.... :D With the small room they provide more than enough sound, and on the low side the sub picks up nicely where they leave off. |
I finished mounting the screen tonight. It's vastly superior to the gray wall at the back of the room that was serving as my temporary screen.
Next up I need to mount the projector to the ceiling and align it with the screen then figure out how to raise the speakers about four feet off the ground to match the position of the screen. |
Hey Moonie? What happened to your treadmill desk?
|
Quote:
|
I've been making lots of things and selling them at craft shows. It's been fun!
ne day I'll learn how to take good photographs of my thing. |
At long last I have finally mounted the screen. There is still a lot of detail work to do like installing the speaker cloth panel between the bottom of the screen and the floor and the drapes to replace the duct tape on the window, etc... but hey I have a functioning screen. I'm a happy camper.
The screen (which is a bitch to get a good photo of by the way) 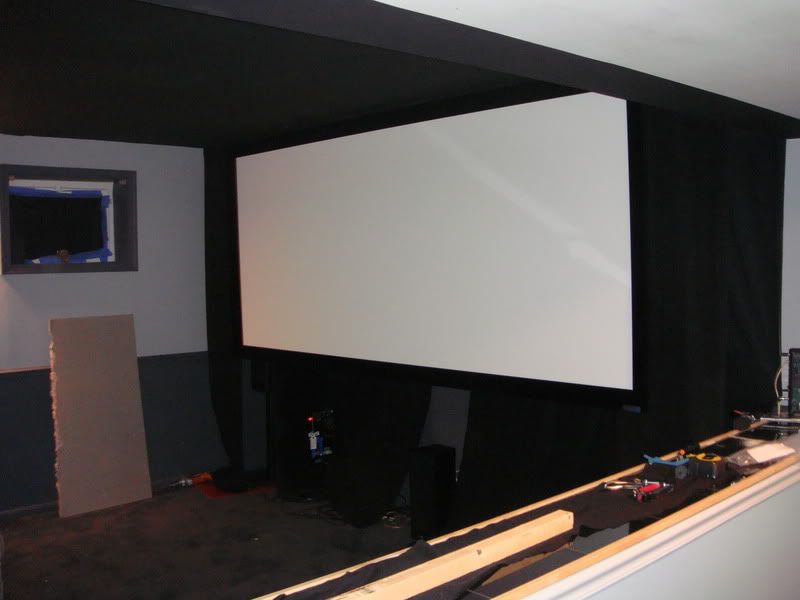 |
Quote:
|
Quote:
|
Quote:
|
Next up the final update in this saga... A set of DIY speaker stands to bring the speakers to the proper height behind the screen. Keeping with the "Keep It Simple" concept, I went with a box like design using 4x4's and MDF board. I had everything cut to size at the hardware store so screwing them together took all of 20min. I followed that with a coat of flat black paint and they were ready for action. After getting them placed I added the last bit of speaker cloth to cover the lower section of the screen and presto. Done!
The raw materials for the speaker stands 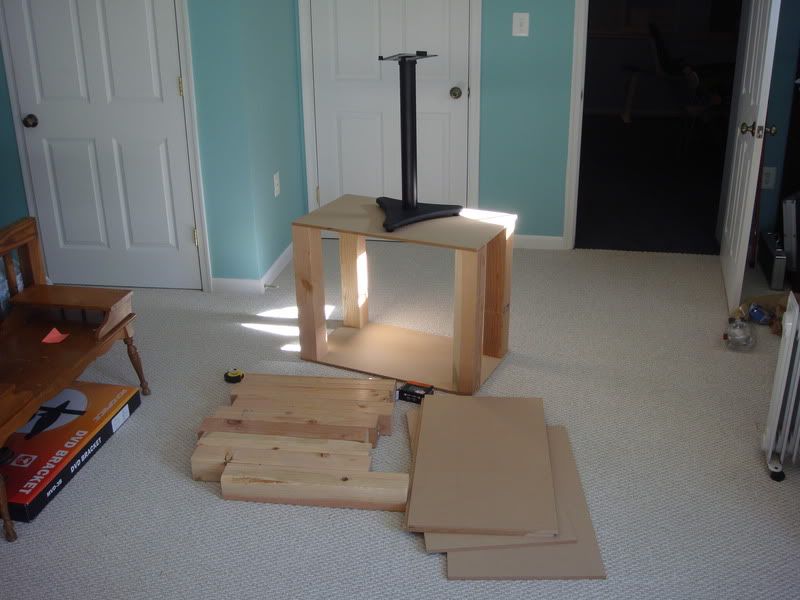 20Min later, boxes! 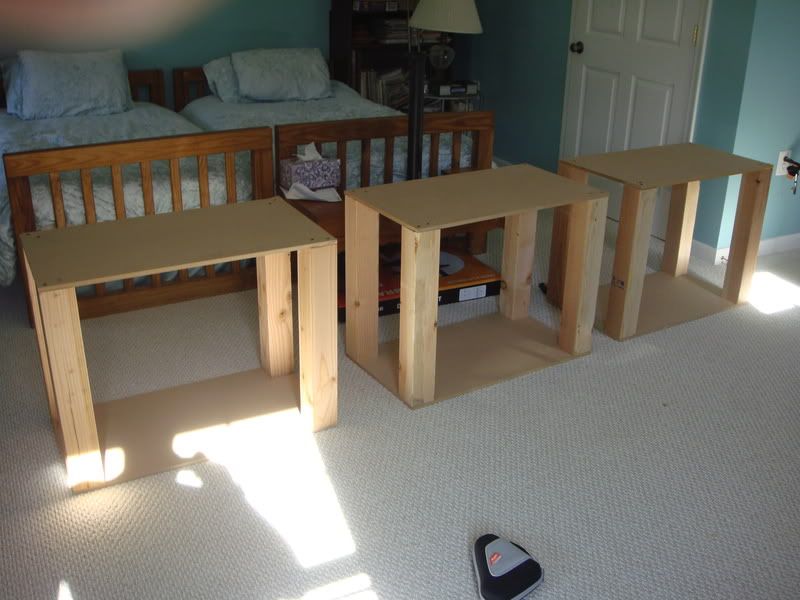 A dash of paint 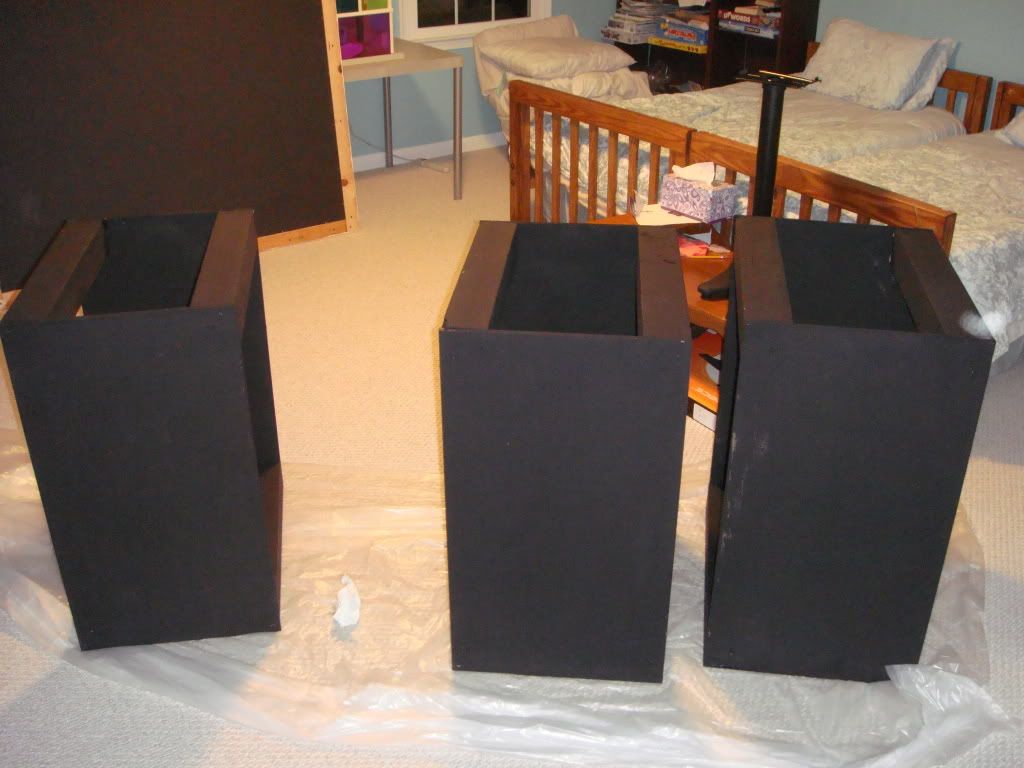 And they are ready to put in place 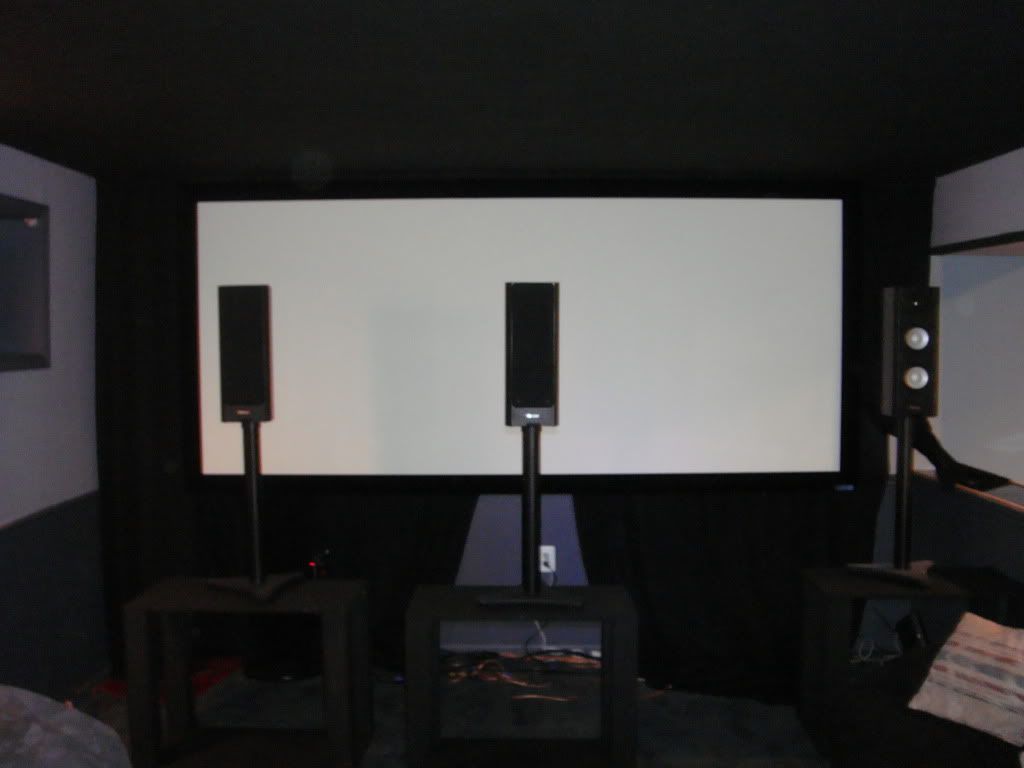 I added the last section of speaker cloth and presto! It's done. 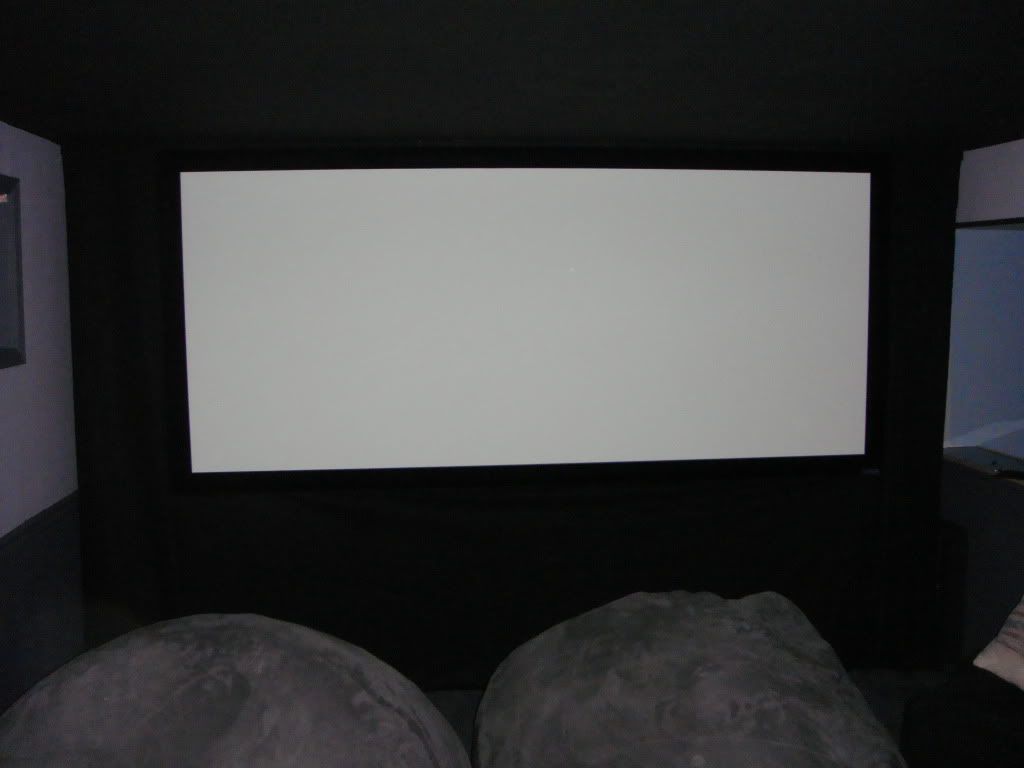 |
Nice job!
|
Excellent!
|
Quote:
|
Visible Moonie Mojo...too effing awesome. :snap:
|
Quote:
|
That's scary. Ugh the creepy Barney kids blown up that big. Yikes.
|
Quote:
|
Quote:
Barney is dead???? |
Oh for fvck's sake, I just looked it up. They were making new ones until last year. I thought it died years ago.
Or maybe that was just wishful thinking. |
I got in a LOT of trouble for selling "Predator vs. Barney" t-shirts.
|
I'll bet the Predator people were not happy about being affiliated with Barney
|
So, do you and Mrs. Moonie sleep in twin beds like Lucy and Ricky?
|
Quote:
|
Quote:
And I'll bet they have toilets too. |
Quote:
That's the guest room. Which I have posted about before.... The beds can be pushed together to make one or pulled apart into twins. Guests choice. |
So it'll work if you get handcuffed together.
|
Looks amazing, Moonie!
|
| All times are GMT -7. The time now is 07:14 PM. |
Powered by vBulletin® Version 3.6.4
Copyright ©2000 - 2026, Jelsoft Enterprises Ltd.